Spice Rack
Difficulty: Beginner
Have your herbs and spices on display and in easy reach with our simple spice rack project.
Recommended products
What you’ll need
- Small wooden crates
- Wooden plank for supporting base
- Glue
- Varnish, wood stain or paint
Step-by-step instructions
Prep
Find some small wooden crates to use as your spice shelves. If your crates are a little large, don’t worry - you can create a jar rack instead!


Step 1
Cut the wooden plank to the same size as the long side of the crates. This will act as the supporting base for your spice rack.
Step 2
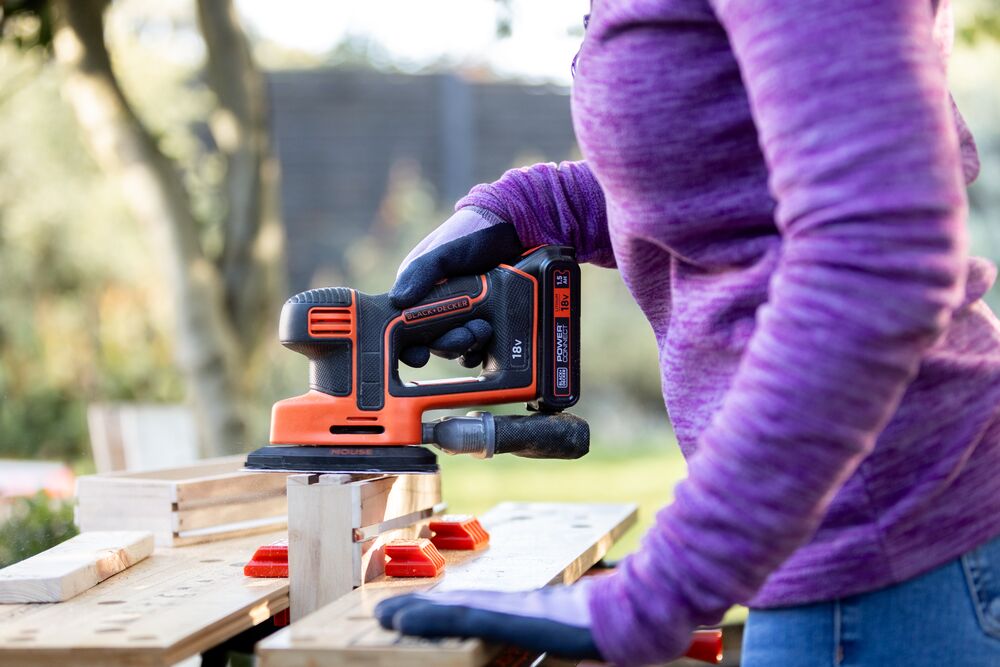
Sand down the crates and base to remove any existing stains or paint and create a smooth finish.


Step 3
Glue together your crates and base.
Step 4
Varnish, stain or paint the spice rack in your preferred finish. We chose to highlight the grain of the wood with a natural stain, but you could use paint to match your kitchen cabinets or walls.


Step 5
Clean up your working area - our POWERSERIES™ cordless stick vacuum will make this a breeze!
Step 6
Enjoy your new spice rack!


